Go to API documentation 👇
Intro to API
konversation Connect API is used to retrieve data from the flow you build. Here are some examples that you could do with the API.
- Pull the flow you have built from konversation Connect.
- Create, delete or obtain data including flow tag, flow field.
- Dealing with the data about the subscribers, involving getting the subscribers’ information, editing their tag or field as well as sending sub flows to the subscribers.
- Configure all the data used in e-commerce such as carts or products.
If you need to deal with the data below, the next sections will introduce the steps to use the API.
Authorization
Since the protection of the data is important to the API, it needs to use several attribute to authorize your identity. Therefore, the first step you must do is to enter the authorized information. You need to click the Authorize button.

Then paste in your API Key

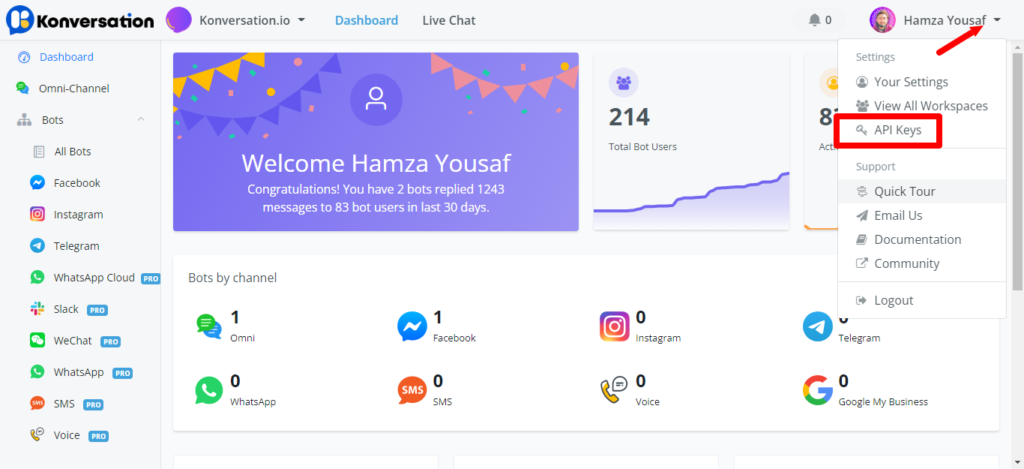
Find Your API Key
Navigate to the top right of your dashboard and select the drop down menu as shown below.
Create Your API Key
To generate your API key, simply add the details to the create API token screen.
- Name your token
- Select Workspace
- Select Chatbot
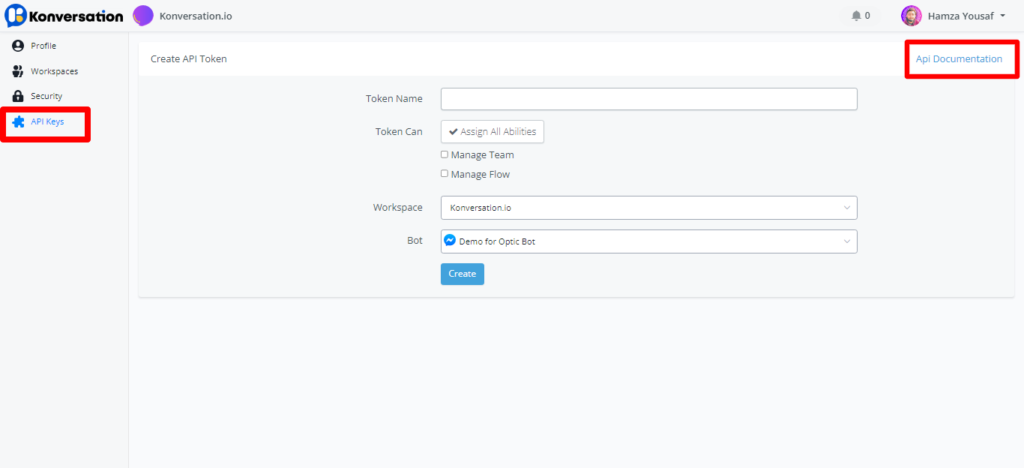
Once you have filled in your details, select the create button. You will now see your API key in the next pop up.

WARNING
This is the only time the key will ever be displayed, so be sure not to lose it! You may revoke the key at any time from your API settings.
Get the Curl and Request URL
Curl is used in API requests. In konversation Connect API documentation, you need some operation before getting the curl in the api documentation.
Here, we use Get Flow Tag as an example.
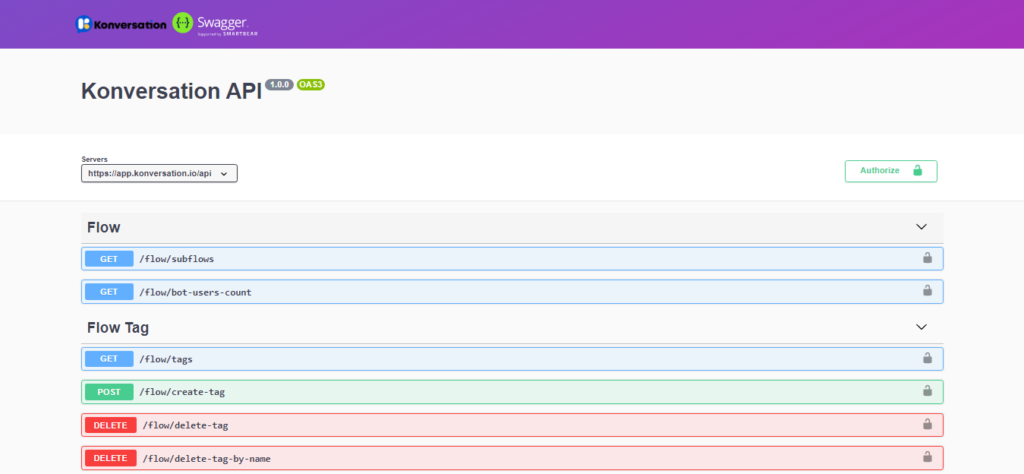
Step 1. Click the expand operation of category, the Flow Tag in this case. Then find the action and the feature, Get /flow/tags. Click the row and a page will dropdown shown as following.

Step 2. This padlock means authorized. If you have done this before, this step is not required. Or, you just do the same as it was mentioned before in the Authorize section.
Step 3. Click Try it out. Then you will see that the Parameters or Request body part could be inputted and the Execute Button is shown at the bottom of this part.

Step 4. Enter the parameters or request body required and click the Execute Button. Finally you will get the Curl and Request URL.

Response
This part display the Json result you will get from the API. Normally if the code is 200, it means that you get the response successfully. If the code is 400, it means that there is error in your response.

Example Value / Schema
Apart from example value, you can click on “Schema” to view more details like which value is mandatory. Denoted by the red Asterix *
